
Bespoke tailoring system
Perfect fit,starts at home
By following these simple guide, you can record accurate body measurements that ensure a custom drape tailored exclusively to you.
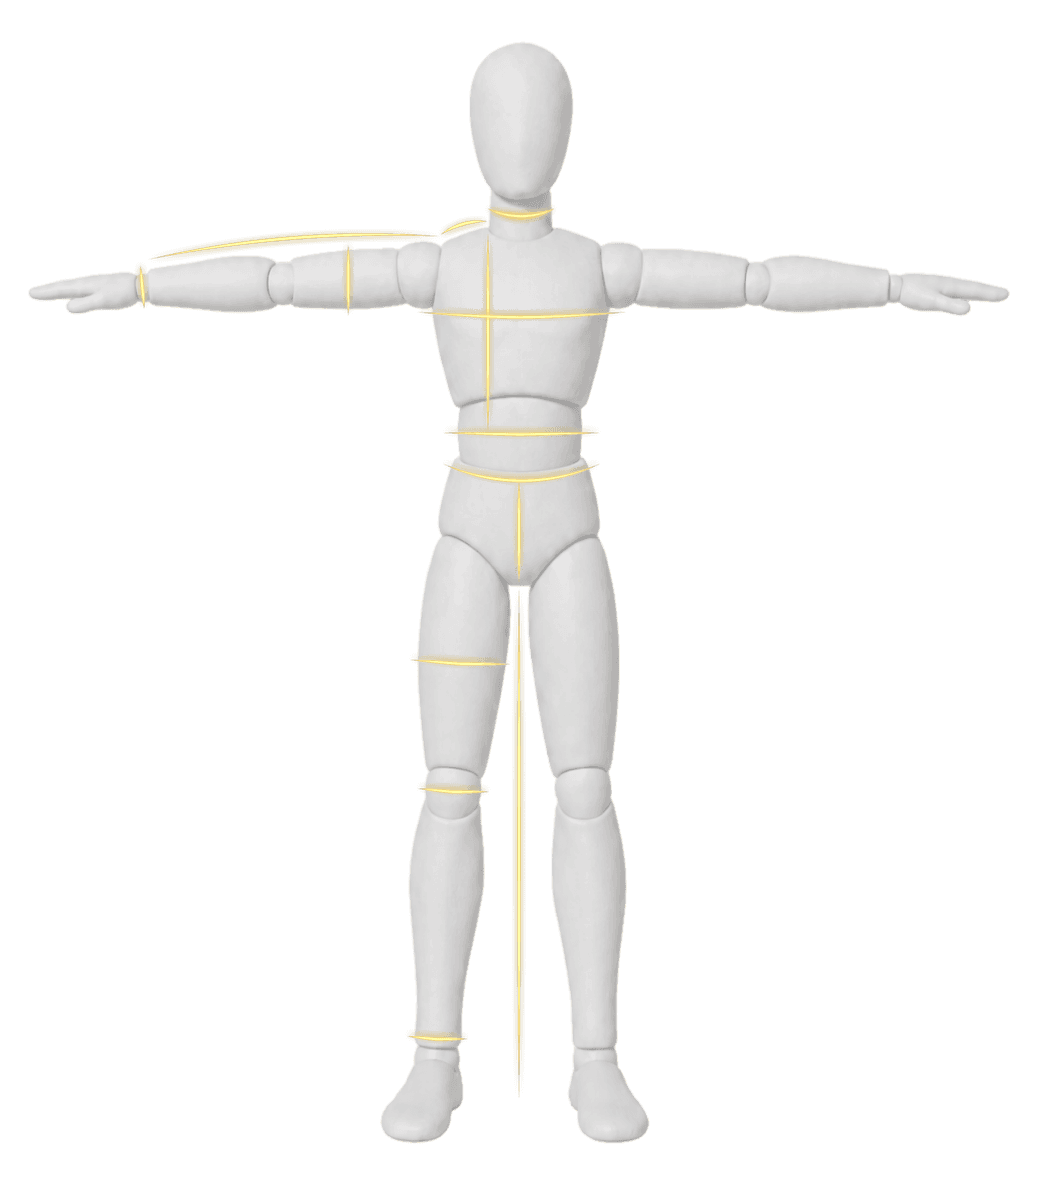
Before you start
Preparation checklist
Recording precise numbers avoids fitting delays. Prepare a quiet space, get a high-quality flexible tailor's tape, and spend 10 minutes setting your personalized size baseline.
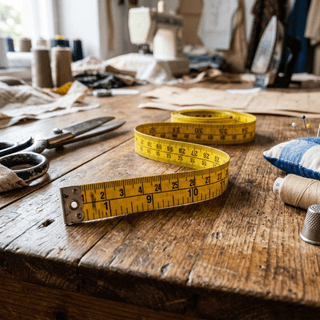
Tailor's tape measure
Use a standard soft fiberglass or cloth tape measure. Avoid metal tapes.
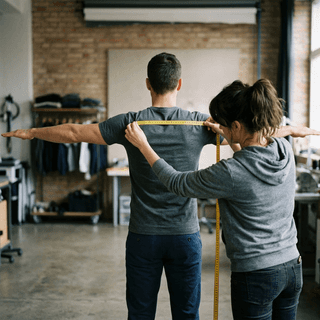
Ask help from partner
If possible, ask a companion to read and hold the tape. It guarantees horizontal accuracy.

Keep natural posture
Stand naturally upright with heels together. Do not tense or drop your shoulders.

Lightweight clothing
Wear a well-fitting, lightweight shirt and trousers for the most faithful contours.
Step 1/7
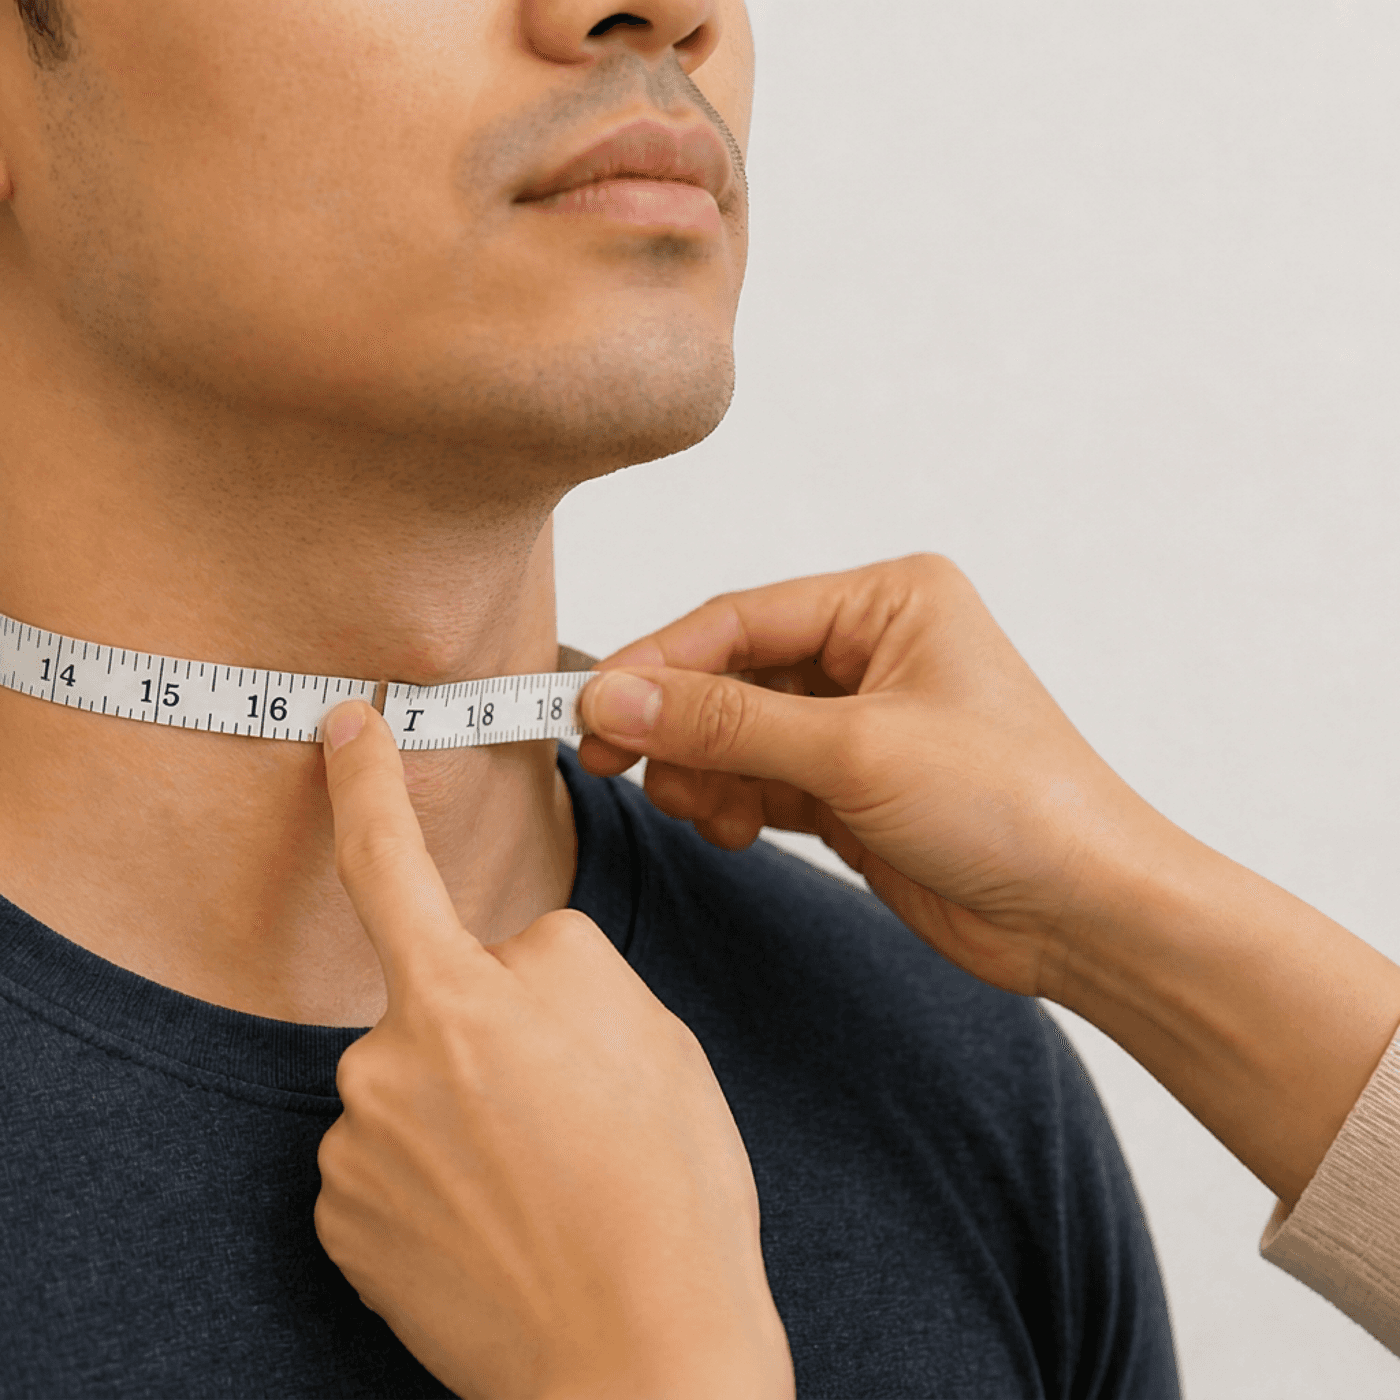
Neck Circumference
Measure around the base of your neck where a collared shirt would naturally sit.
- 1
Place the tape measure around your neck, starting from the back.
- 2
Bring the tape to the front, resting it just below your Adam's apple.
- 3
Keep one finger between your neck and the tape to ensure a comfortable breathing allowance.
Pro tailor tip
Stand naturally and look straight ahead. Do not tilt your chin up or down.
Step 2/7
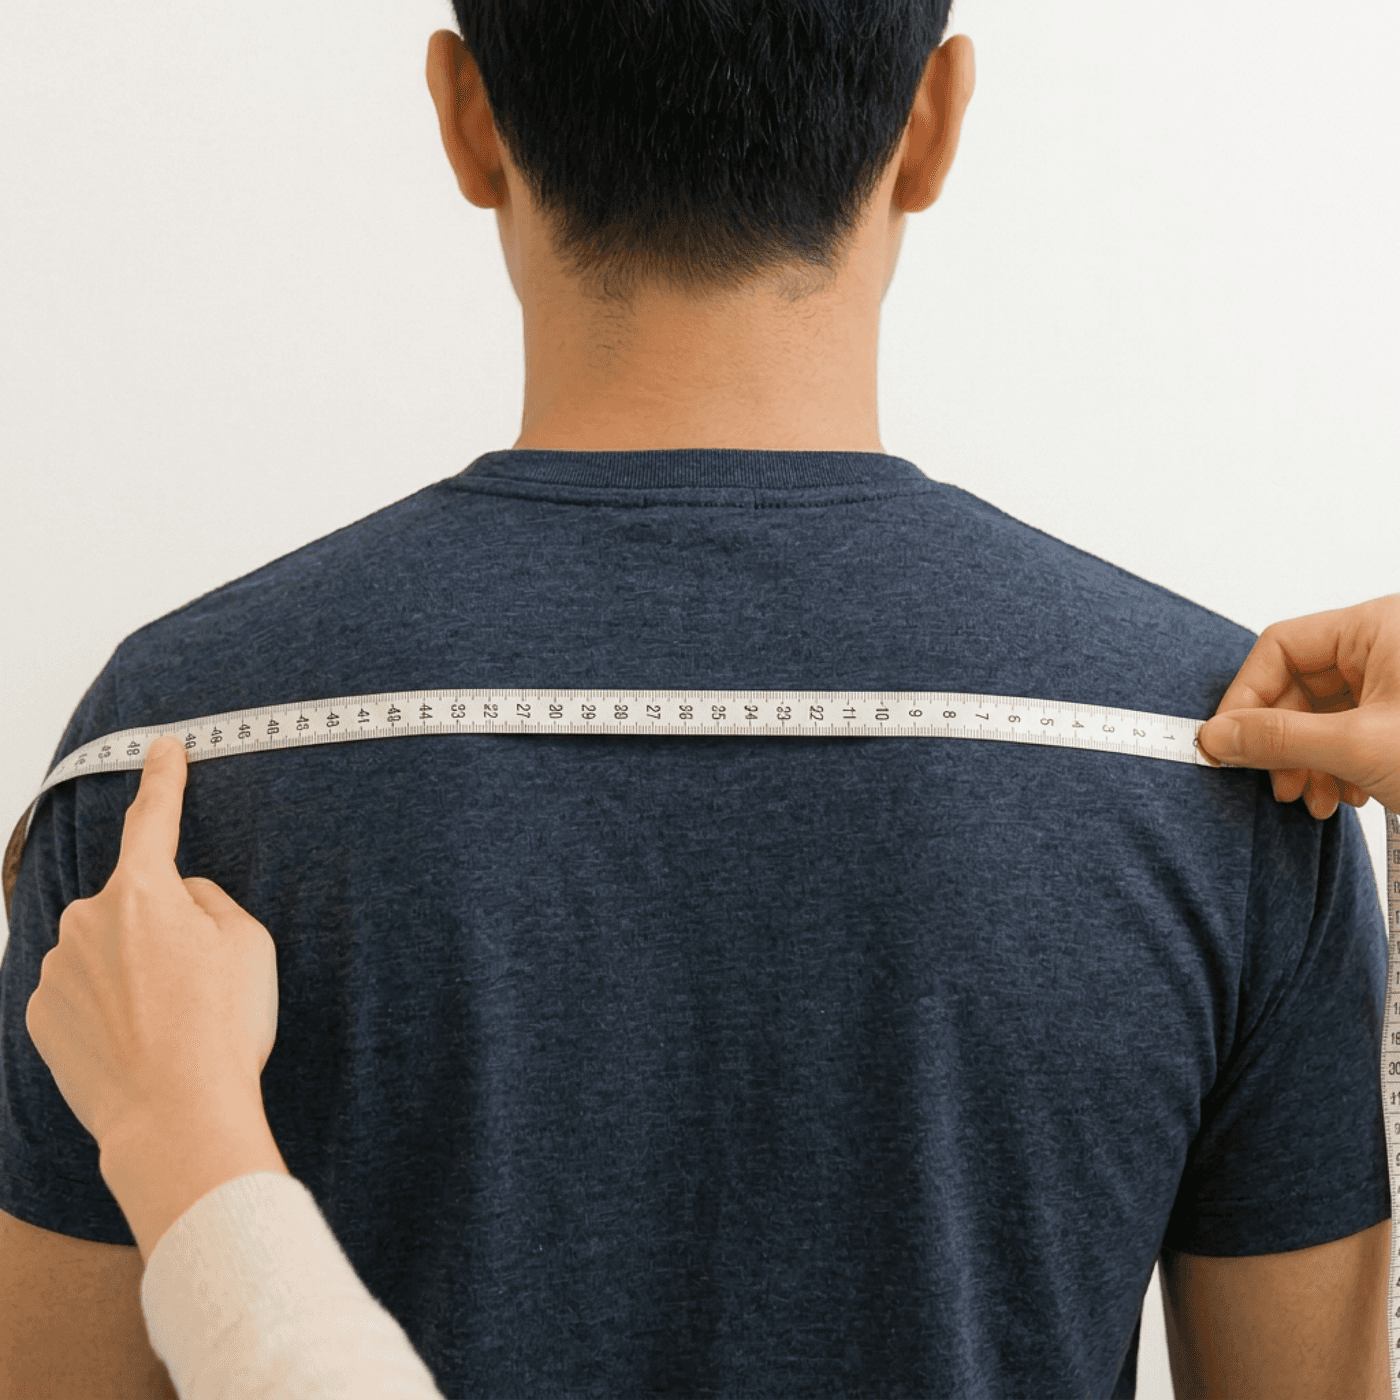
Shoulder Width
Measure across the top of your back from the outer edge of one shoulder bone to the other.
- 1
Locate the bony prominent points on the outer edge of each shoulder (acromion process).
- 2
Run the tape straight across the natural curve of your upper back.
- 3
Ensure the tape follows the contour of your shoulders without dropping or pulling tight.
Pro tailor tip
It is best to wear a well-fitting shirt to help reference the shoulder seam points.
Step 3/7
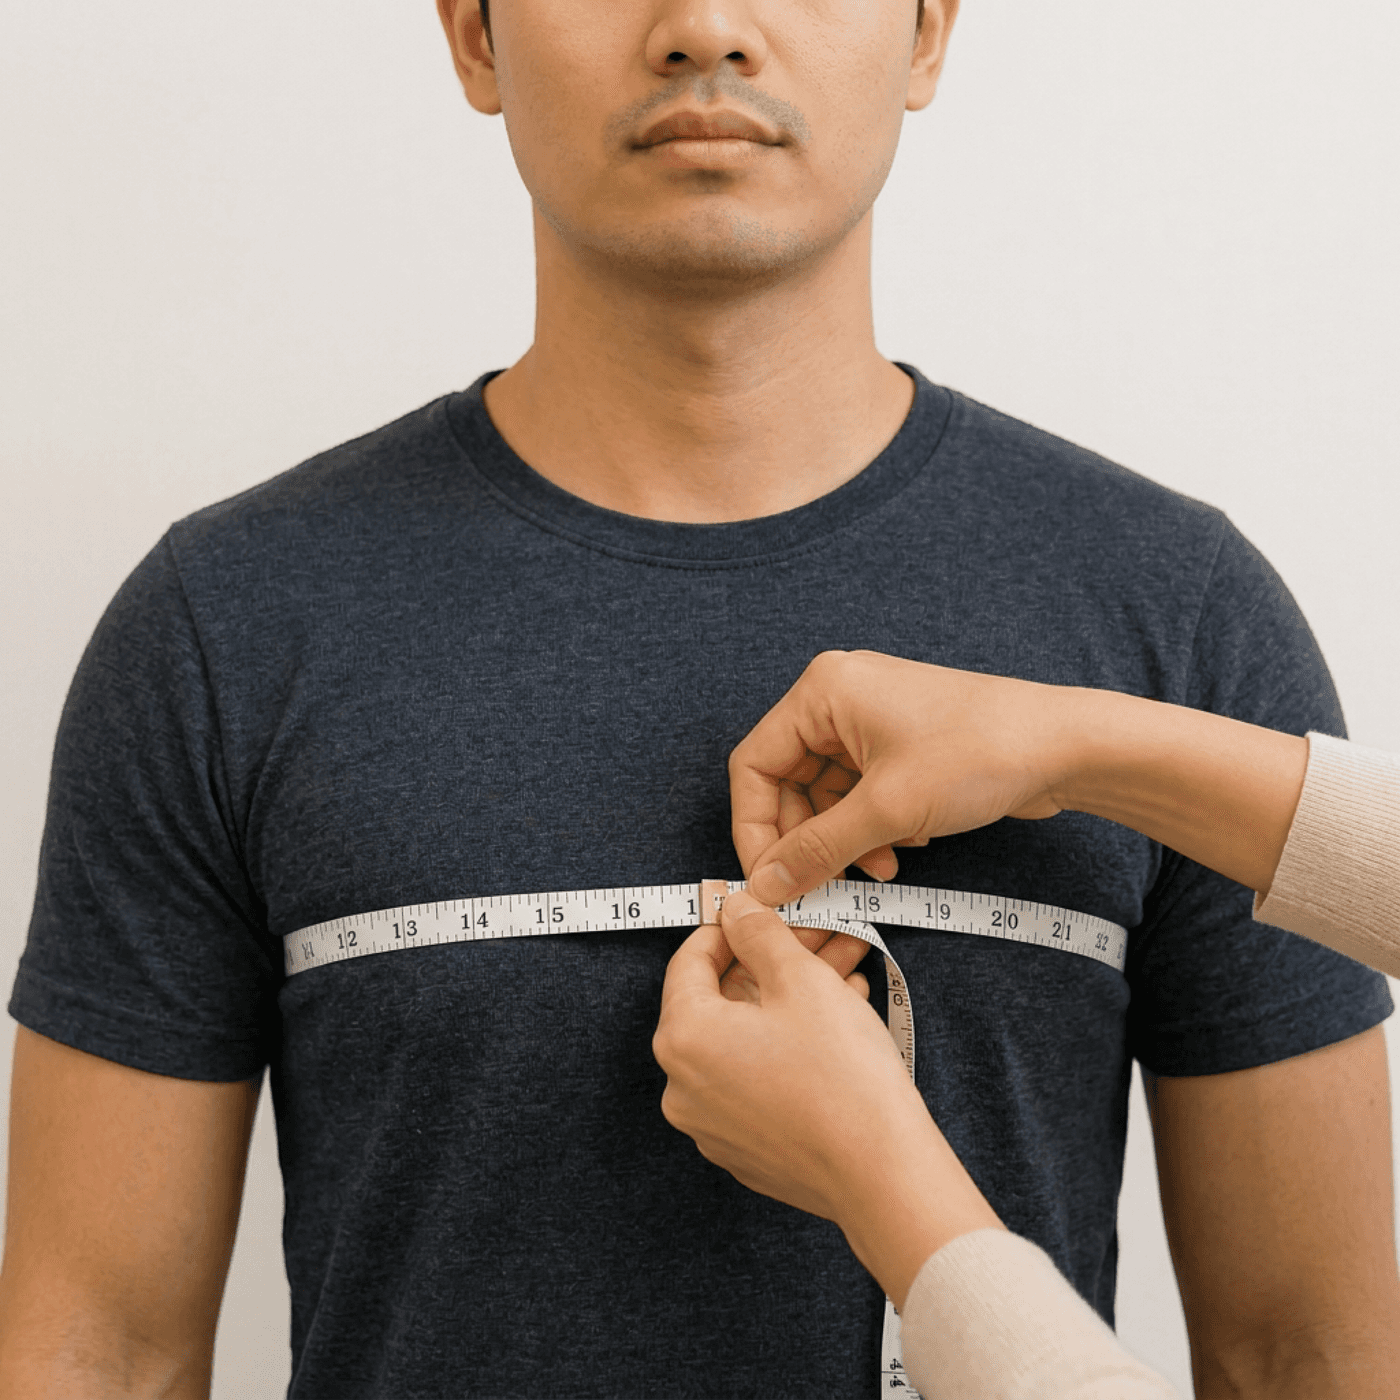
Chest Circumference
Measure around the fullest part of your chest, keeping the tape horizontal under your arms.
- 1
Raise your arms and wrap the tape around your back at shoulder blade level.
- 2
Bring the tape to the front, crossing the fullest part of your chest.
- 3
Lower your arms naturally to your sides to take the final measurement.
Pro tailor tip
Take a deep breath in and exhale naturally. Do not puff out your chest or hold your breath.
Step 4/7
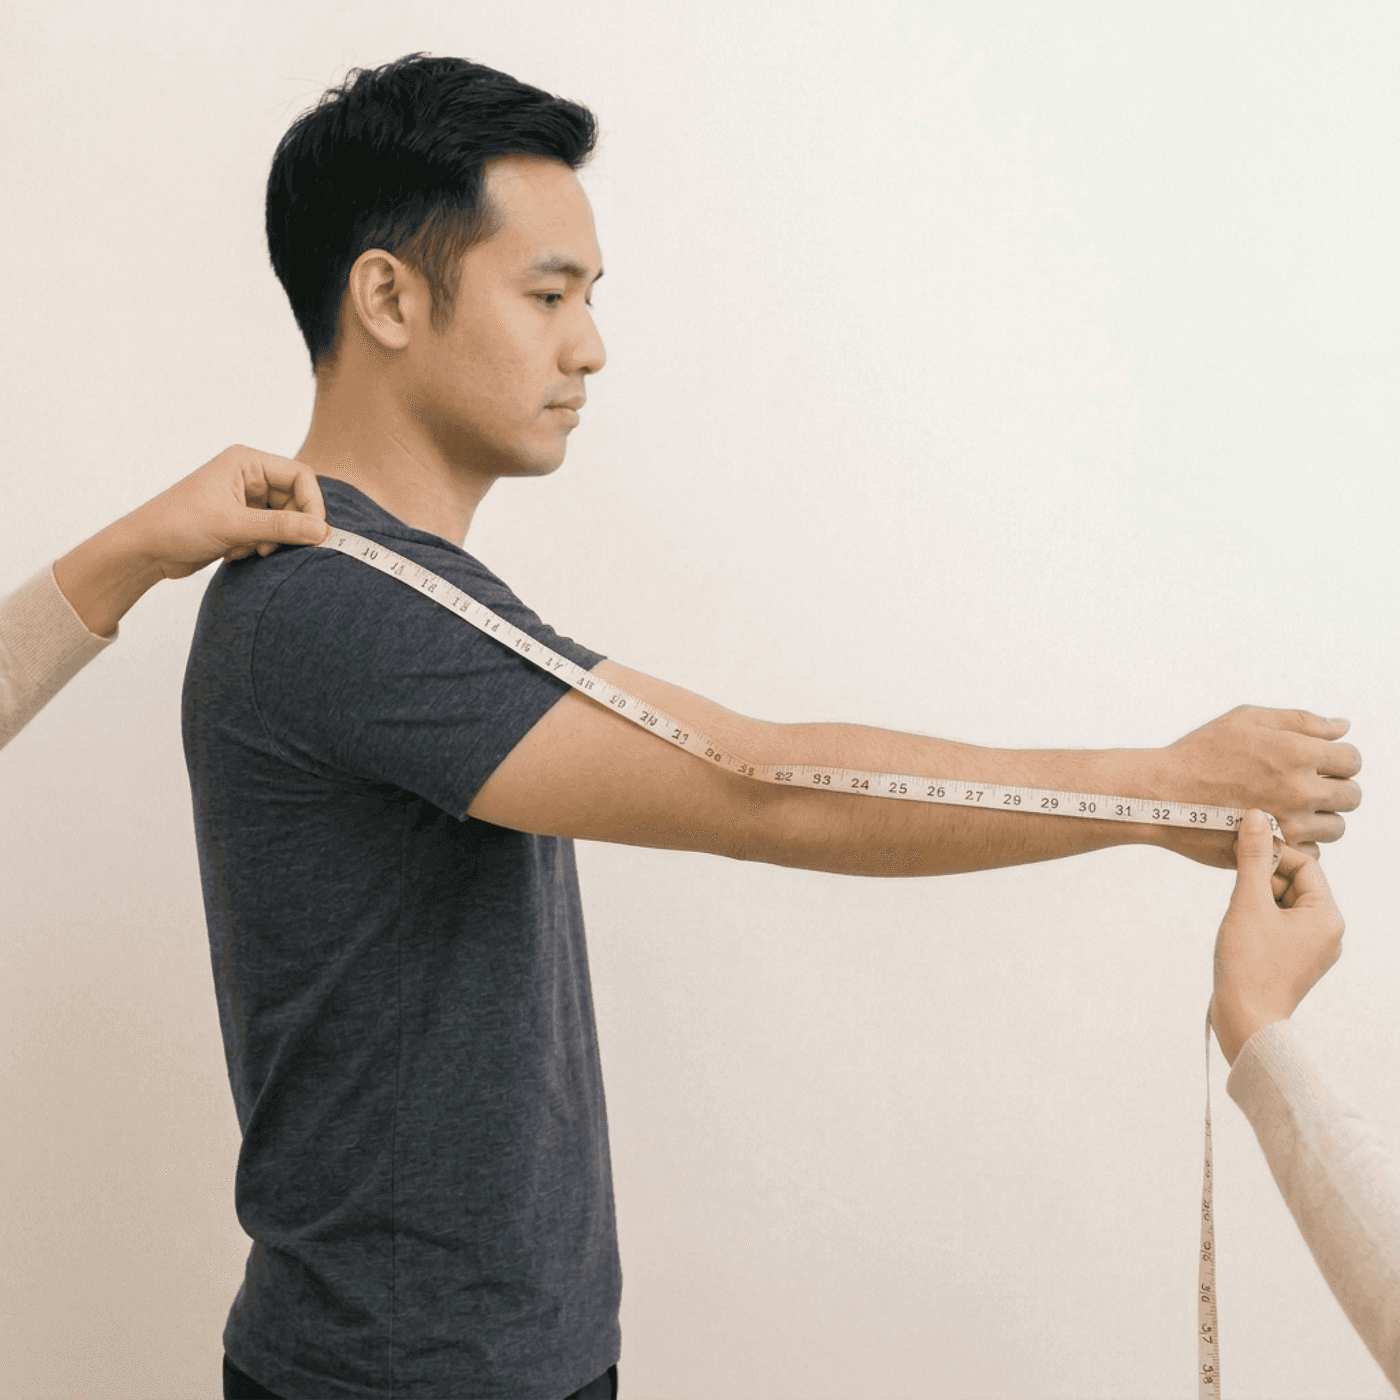
Sleeve Length
Measure from the shoulder joint point down to your wrist bone.
- 1
Place the tape at the same shoulder bone point used for the shoulder width.
- 2
Run the tape down the outer side of your arm following a slightly bent elbow.
- 3
End the measurement exactly where your wrist bone meets your hand.
Pro tailor tip
Keep a natural, slight bend in your elbow. Do not lock your arm straight.
Step 5/7
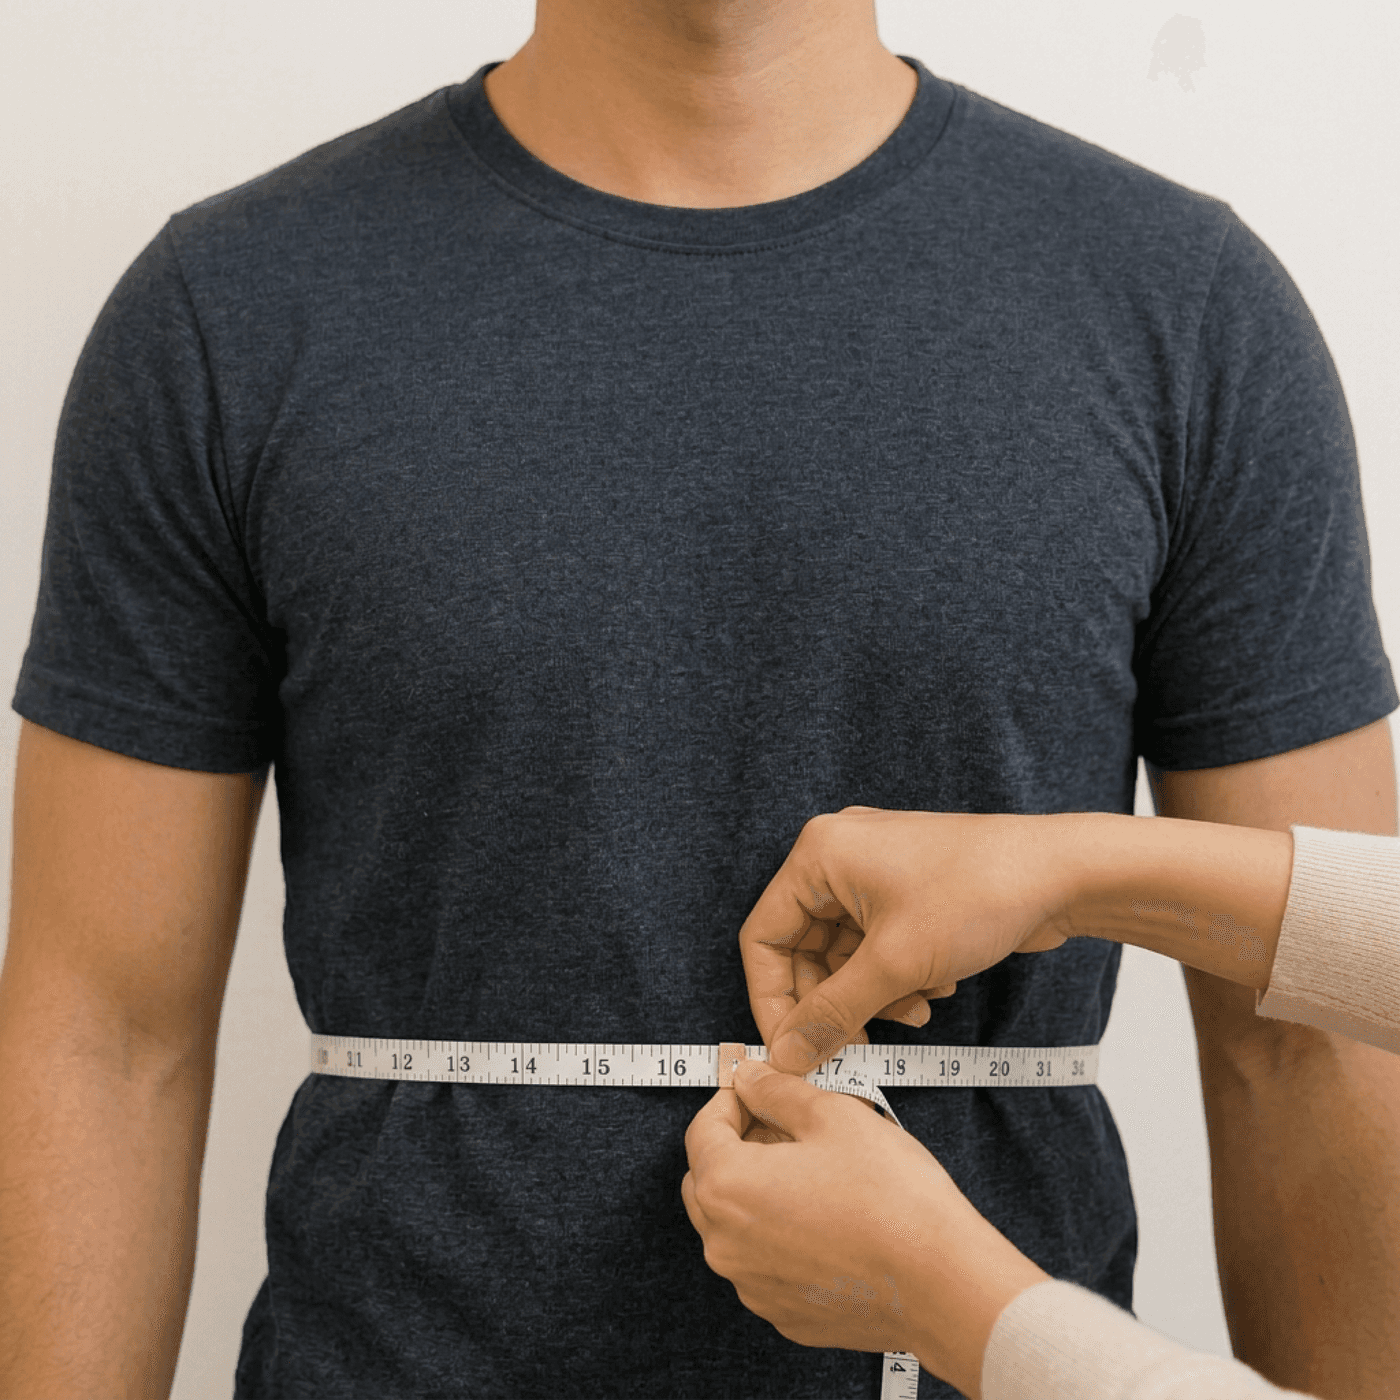
Waist Circumference
Measure around your natural waistline, typically located inline with your navel.
- 1
Locate your natural waistline, which sits slightly above your hip bones.
- 2
Wrap the tape horizontally around your waist, keeping it flat and level.
- 3
Keep one finger behind the tape to prevent over-tightening.
Pro tailor tip
Stand relaxed. Do not pull your stomach in. This determines your trousers' baseline comfort.
Step 6/7
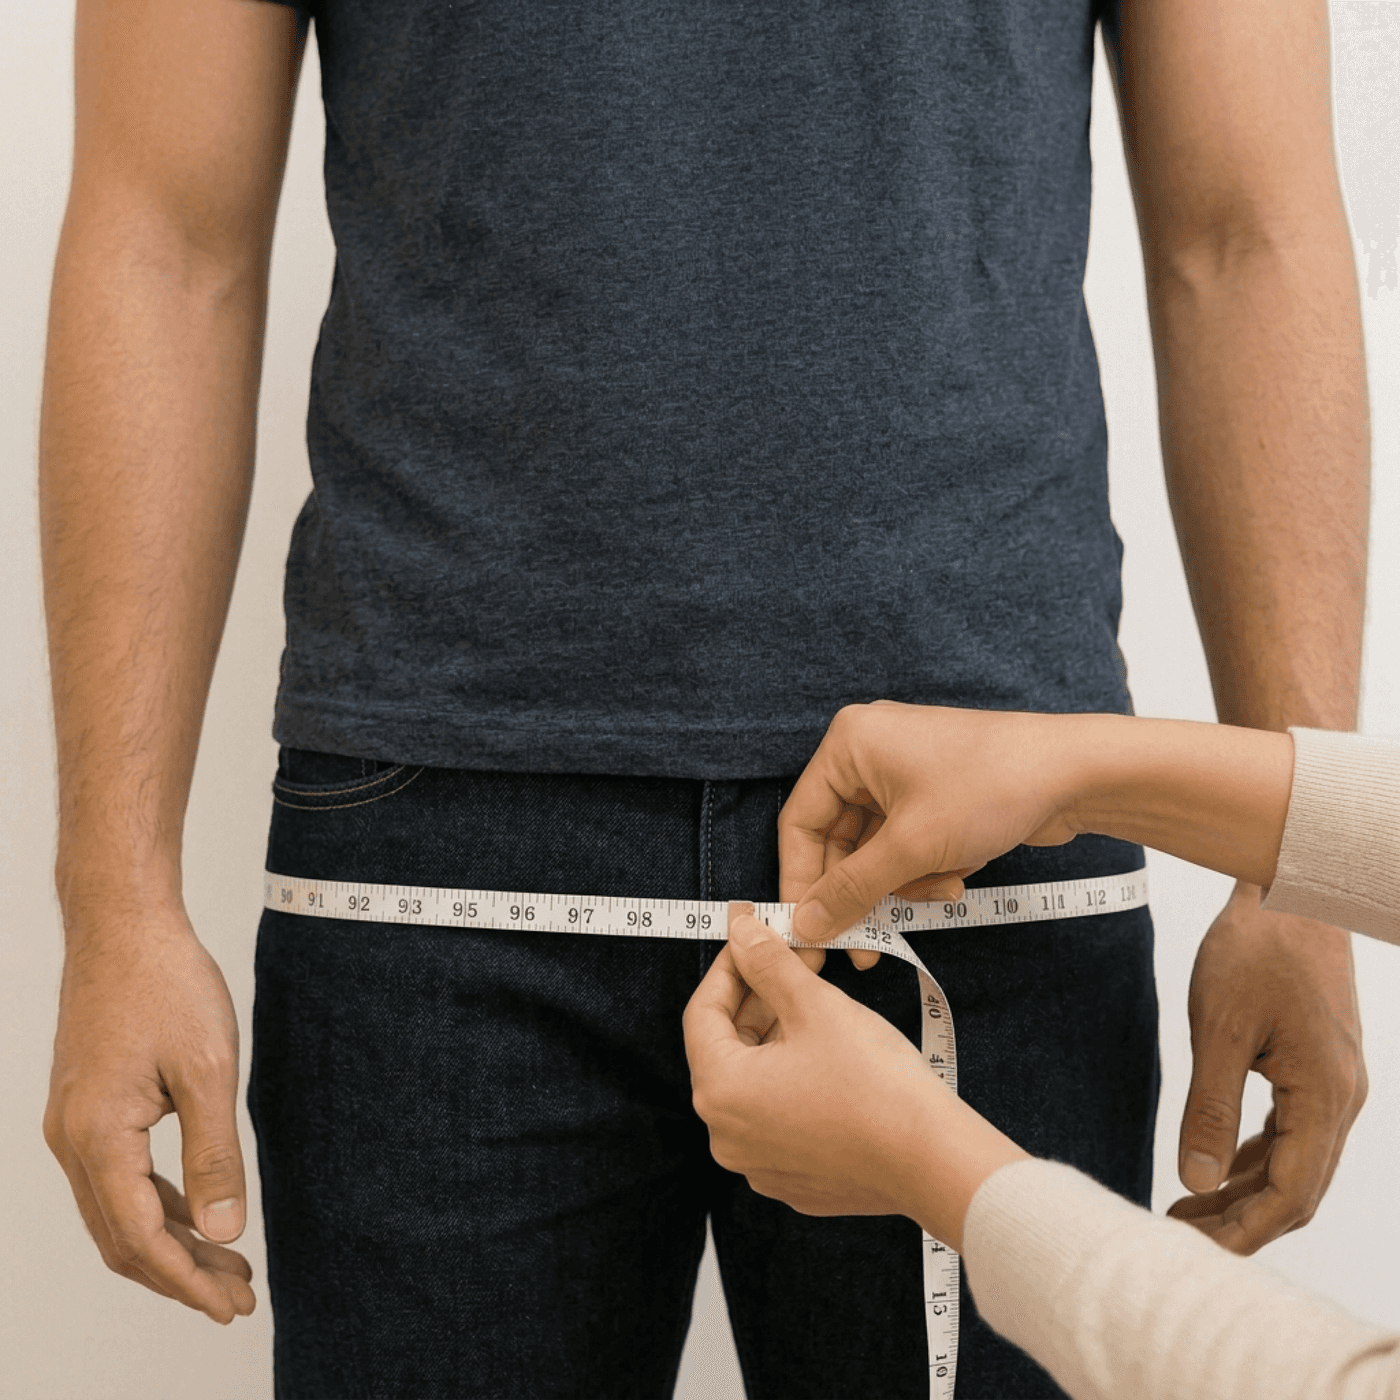
Hips Circumference
Measure around the fullest part of your hips and seat.
- 1
Stand with your heels together on a flat surface.
- 2
Wrap the tape horizontally around your hips, ensuring it goes over the fullest part of your buttocks.
- 3
Keep the tape parallel to the floor for an accurate reading.
Pro tailor tip
Empty your pockets of any phones, wallets, or key rings before measuring.
Step 7/7
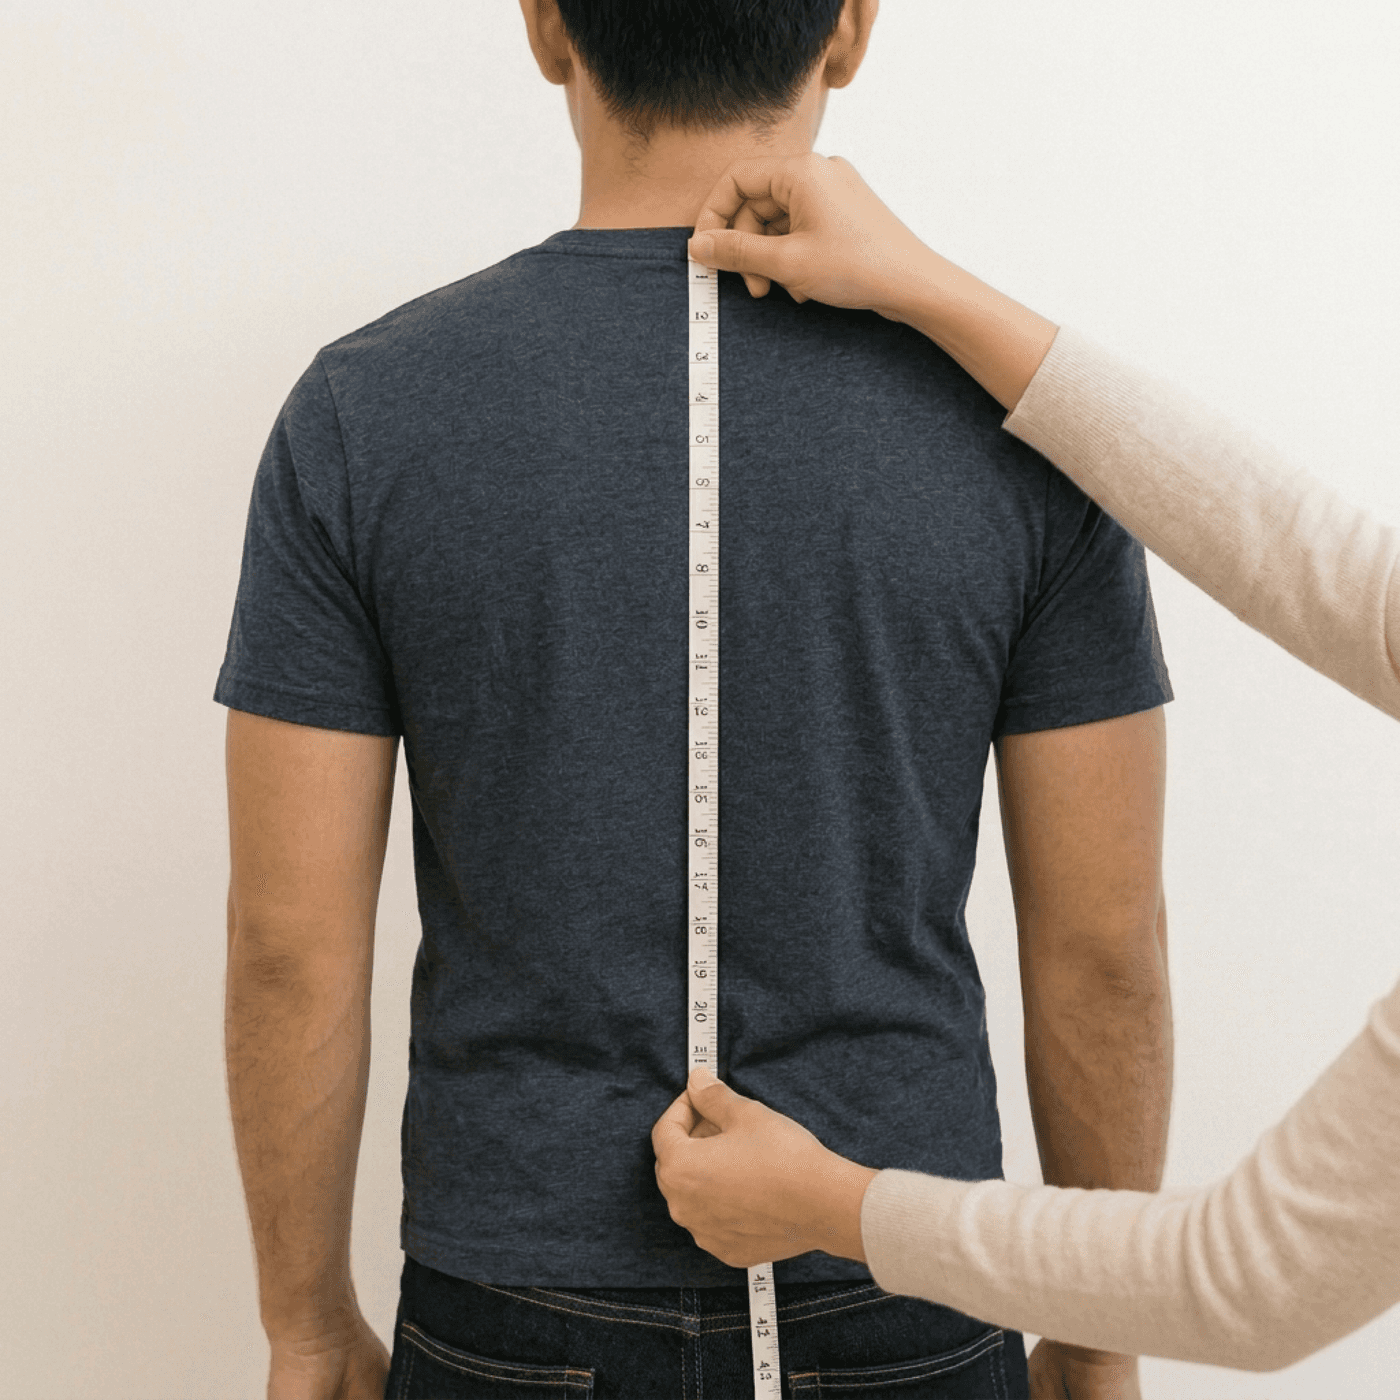
Back Length
Measure from the prominent bone at the base of your neck straight down to your desired jacket length.
- 1
Locate the prominent spinal bone at the base of your neck (C7 vertebra).
- 2
Run the tape straight down the center line of your spine.
- 3
Stop where you want the bottom of your jacket to rest (usually middle of your seat).
Pro tailor tip
Consider your preference: shorter cuts look modern, while traditional cuts sit slightly lower.






Begin your first suit,
Live up your moments
Twenty minutes in the studio. Twenty-one days at the bench. A suit you'll wear for ten years.
BUILD YOUR SUIT